

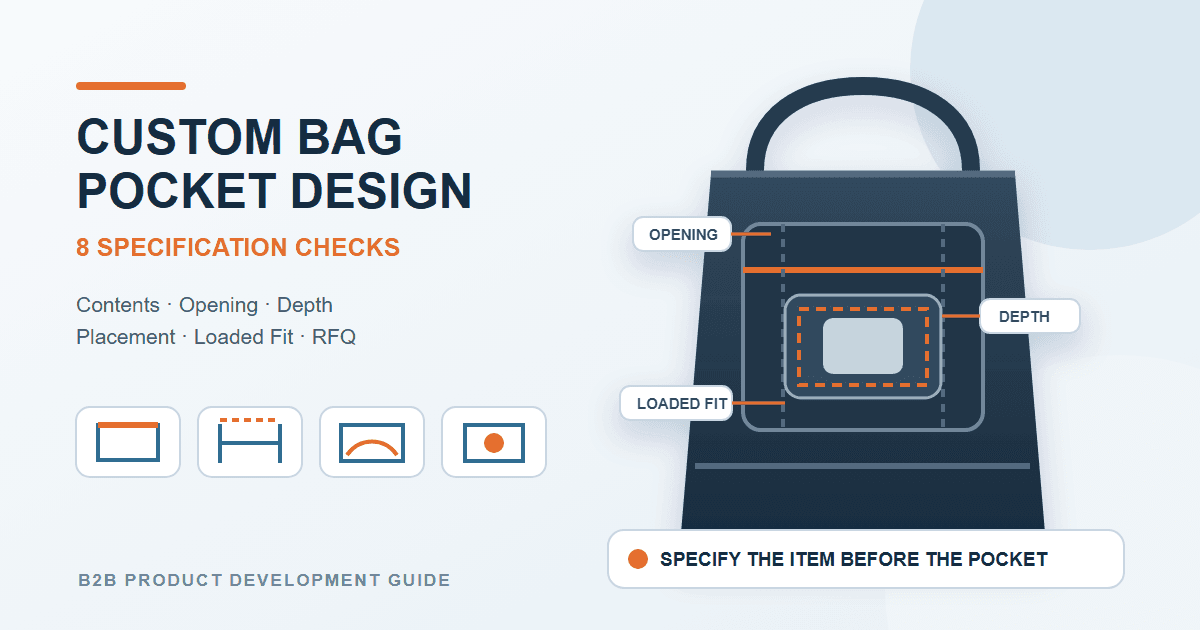
A request such as "add two inside pockets" is not yet a production specification. It does not tell the factory what the pockets will hold, how wide the openings must be, how deep a hand needs to reach, where the pockets sit, or what happens after the main compartment is loaded.
A useful custom bag pocket design starts with the item and the access action. From there, the buyer can define usable dimensions, opening, placement, closure, expansion, nearby structures and sample checks.
This page focuses on the pocket itself. If the project still needs an overall list of product inputs, begin with a custom bag design brief, then use this guide to specify each pocket as a separate functional area.
Key Takeaways
- Name the intended contents before choosing pocket dimensions or construction.
- Flat panel dimensions do not equal usable pocket space.
- Specify opening width, usable depth and expansion direction together.
- Place the pocket according to access order, bag orientation and nearby structures.
- Check interference with the main load, zipper path, handles, straps, seams and branding.
- Review pockets with real products or representative substitutes inside the sample.
- Record revisions in the drawing, specification and sample comments.
- Treat ordinary loaded review as a use check, not proof of load capacity or durability.
1. Define the Pocket by Its Intended Contents
Start with an item list, not a pocket type.
For each pocket, record:
- item name;
- quantity;
- approximate length, width and thickness;
- weight where it affects retention or bag shape;
- whether the item is rigid, soft, fragile or irregular;
- how often the user needs it;
- whether one hand must reach it;
- whether the item needs quick access, separation, visibility or closure;
- whether the item changes size during use, such as a folded cable or partly filled bottle;
- whether the pocket must work while the bag is being carried, opened or mounted on another product.
A phone, document, bottle, charging cable and medical accessory do not need the same opening, depth or retention method. Even two items with similar outside dimensions may behave differently if one is rigid and the other compresses.
Use the intended product whenever possible. If that is not available, use a representative substitute with similar size, shape and weight, and mark it as a substitute in the sample record.
2. Separate Panel Dimensions From Usable Pocket Space
A technical drawing may show the outside width and height of a pocket panel. Those dimensions do not automatically describe the space the user can access.
Usable space can be reduced by:
- seam allowance;
- binding or folded edges;
- lining layers;
- padding or backing material;
- zipper tape and end stops;
- elastic tension;
- curved panel shape;
- pleats or gussets that open in only one direction;
- stitching that divides one panel into several sections;
- pressure from the loaded main compartment.
For this reason, the specification should distinguish at least three things:
- finished outside dimensions on the bag;
- usable internal width and depth;
- opening width in the condition the user will actually handle.
Do not approve a pocket because the flat ruler measurement looks correct. Insert the target item, remove it, close the bag and repeat the action with the surrounding compartments loaded.
3. Specify Opening, Depth, and Expansion Together
Pocket width alone is not enough. A wide panel may still have a narrow entry. A deep pocket may hide a small item. A bottle pocket may fit when empty but tighten after the adjacent compartment is filled.
Opening Width
Define the usable opening rather than only the cut-piece width. For zippered pockets, record the accessible zipper opening and the position of the end stops. For elastic openings, confirm how the opening behaves around the target item in the sample.
Usable Depth
Depth should let the item remain inside while still allowing the intended retrieval action. A deep pocket may support retention, but it can also make a short item difficult to reach. The right depth depends on the item, closure and access frequency.
Expansion Direction
If the pocket uses a gusset, pleat, mesh, elastic or another expanding structure, show where the extra volume should move. Expansion toward the main compartment may reduce its usable space. Expansion outward may change the exterior profile or interfere with branding and packing.
A simple specification table can prevent confusion:
|
Field |
What to Record |
Why It Matters |
|
Intended item |
Product name, quantity and representative dimensions |
Sets the real fit target |
|
Finished pocket size |
Width, height and visible panel position |
Controls appearance and layout |
|
Usable space |
Internal width, depth and relevant thickness |
Shows what can actually be stored |
|
Opening |
Usable width, direction and closure |
Controls insertion and access |
|
Expansion |
Gusset, pleat, elastic or mesh direction |
Shows where loaded volume moves |
|
Retention |
Open, elastic, flap, zipper or other agreed method |
Defines how the item stays in place |
4. Choose Placement and Closure From the Access Task
Interior, exterior, side, lid and divider-mounted pockets solve different access problems. Placement should follow when and how the user reaches the item.
An exterior pocket can shorten the access path, but it may change the front or back panel, compete with logo space or expose the contents to more handling. An interior pocket keeps the outside simpler, but the user must open the main compartment first. A side pocket can suit a bottle or frequently used object, provided the loaded item does not disturb carrying balance or exceed the intended profile.
Closure should also follow the task:
- open pockets favor quick access;
- elastic openings can help retain an item while allowing direct removal;
- zippered pockets create a closed area but add zipper length, slider position and opening-clearance decisions;
- mesh can improve visibility, but the material and edge treatment still need project review;
- transparent panels may support identification, but material availability and construction must be confirmed for the project;
- flaps or hook-and-loop closures change the opening action and may affect nearby surfaces.
There is no universal best combination. Select the position and closure after the buyer defines access speed, visibility, separation, retention and appearance.
5. Draw an Interference Map Around Every Pocket
A pocket does not operate alone. It shares limited space with the main compartment, other pockets, seams, hardware, handles, straps, logo areas and packaging folds.
Mark the pocket on the front, side and section views of the bag. Then check it against:
- main-compartment contents when fully loaded;
- nearby pocket contents;
- zipper paths and slider parking positions;
- handles and their attachment patches;
- shoulder straps, webbing and buckles;
- side and bottom seams;
- binding, piping and lining joins;
- dividers, sleeves and support layers;
- logo, label and print areas;
- base boards, padding or reinforcement pieces;
- the fold or compression used for packaging.
The most common conflict appears after loading. A main compartment can push an interior pocket inward, reduce the opening or press a rigid item against another product. An exterior bottle pocket can pull the side panel outward and change how the zipper closes. A pocket zipper may run into a handle attachment or stop under a flap.
A flat drawing can show intended position. Only a loaded sample can show how those structures interact in use.
6. Review Attachment Areas Without Assuming One Stitch Solves Every Project
Pocket openings, upper corners, zipper ends and expanding sections can concentrate stress. The suitable construction depends on the material stack, item weight, access frequency, available sewing area and direction of pull.
Possible project directions may include standard stitching, bar tack stitching, box stitching, box-X stitching, reinforcement webbing or localized backing. These are options for evaluation, not automatic standards for every pocket.
A named stitch does not establish a load rating. More stitching is not always better if the placement, material layers or stress direction are wrong. Use the wider custom bag stitching and reinforcement guide when a pocket carries a heavier item or connects near another loaded structure.
If the buyer requires a formal load, pull, cycle, abrasion or zipper-life result, define the test method, sample condition, acceptance criteria and responsibility separately. Ordinary use checks do not produce those claims.
7. Review Pocket Access With the Bag Fully Loaded
An empty sample can hide several failures. The opening may look wide until the main compartment expands. A bottle may fit until a laptop sleeve is occupied. A zipper may work on a flat panel and bind after the bag changes shape.
Use this loaded review sequence:
- inspect the empty pocket dimensions, opening, stitching and alignment;
- load the main compartment with the real products or representative substitutes;
- load the pocket with its intended item;
- insert and remove the item in the expected bag orientation;
- operate the closure without forcing the opening or pulling the panel out of shape;
- check contact with adjacent contents, hardware, zipper paths and seams;
- carry, lift or position the bag as intended for ordinary sample review;
- repeat the access action with other relevant pockets loaded;
- inspect the pocket opening, corners, attachment area and surrounding panel again;
- record the result against the drawing and sample comments.
The broader custom bag sample approval checklist covers bag dimensions, materials, carrying parts, branding and packaging beyond this pocket-specific review.
8. Decide Whether a Revision Needs Another Physical Sample
Not every document change requires a new physical sample, but changes that alter fit, access, construction or interaction usually need closer review.
Another sample confirmation may be needed when a revision changes:
- usable opening or depth;
- the target item or quantity;
- pocket position;
- closure or zipper path;
- material, padding or backing layers;
- gusset, pleat or expansion direction;
- attachment or reinforcement;
- nearby handle, strap, divider or main-compartment structure;
- logo or label placement;
- loaded fit or packaging fit.
A lower-risk correction may use an updated drawing, photo, video or another agreed method if the buyer accepts it. The decision depends on the revision scope and project requirements.
Whichever route is used, update the relevant drawing, specification and sample comments. The approved physical sample and final specification materials should work together as production references. Photos are useful supporting records, but they do not replace dimensions, materials, construction notes and written approval.
Put Pocket Details Into the RFQ and Tech Pack
A pocket specification should be traceable. Number the pockets on the drawing, then use the same IDs in the dimensions, material notes and sample comments.
Include these fields:
- pocket ID and location;
- intended contents and quantity;
- item dimensions and relevant weight;
- finished outside dimensions;
- required usable internal space;
- usable opening width and direction;
- closure type and hardware details;
- expansion method and direction;
- pocket material, lining, mesh, elastic, padding or backing;
- attachment and reinforcement direction where specified;
- nearby seams, zippers, handles, straps, dividers, logo and label areas;
- representative load for sample review;
- required access action and pass/fail observations;
- revision number and approval method;
- any formal test method and acceptance criteria.
The pocket page should connect to the complete bag Tech Pack sourcing guide, not replace it. The full Tech Pack still needs overall dimensions, materials, artwork, components, packaging and version control.
How Pengtour Supports Pocket Development
Pengtour can evaluate pockets, dividers, openings, zippers, internal layout, handles, straps, materials, hardware and sample requirements for selected sewn bag projects. Final feasibility depends on the bag type, intended contents, dimensions, materials, construction and project requirements.
For a pocket-focused review, the buyer can provide the item list, labeled photos, dimensions, location, closure direction and a representative loading method. The review may compare pocket dimensions, layout, stitching, fit and function against the approved project requirements. Exact tolerances and any performance tests remain project-specific.
Buyers can review Pengtour's custom functional bags range and custom soft bag development route. To begin, request a project-specific quote with the bag drawing, intended contents, pocket IDs, target dimensions and reference photos.
FAQ
Can a Logo Be Printed or Embroidered on a Pocket?
It may be possible when the pocket provides enough usable branding area and the selected material suits the logo process. Check the logo against the pocket opening, zipper, folds, stitching and loaded shape. Approve the logo size and position on the sample rather than treating the flat artwork as the final result.
Do More Pockets Make a Custom Bag Better?
Not automatically. Each pocket uses material, sewing time and internal or external space. Too many pockets can reduce main-compartment capacity, slow access or create overlapping structures. Keep a pocket when it has a named item, access task or separation purpose.
Can One Pocket Fit Several Product Sizes?
A range may be possible, but the buyer should define the smallest and largest target items and the required retention. Review representative sizes in the sample. One successful fit should not be presented as proof that every item in an undefined range will work.
Is an Elastic Pocket Better Than a Zipper Pocket?
They solve different tasks. Elastic can support direct access and retention around an item. A zipper creates a closed storage area but adds opening and slider-clearance decisions. Choose according to the intended contents, access frequency and sample result rather than applying one option to every bag.