

Medical bag design requirements should begin with the bag's job, not a list of medical supplies. A buyer may know that the finished bag needs to hold several groups of items, open in a certain way, travel with a team, and make individual groups easy to identify. That is enough to start a useful brief. The clinical contents, treatment process, and regulatory requirements remain separate project inputs.
For a custom project, the most useful first document describes the items at a practical level, their dimensions and shapes, the order in which they need to be reached, and how the bag will be carried. It also records the parts that are still unknown. This gives a designer and sampling team something concrete to review instead of trying to infer a layout from a product photo or a general description.
Start with the bag's intended use and contents categories
A medical bag can serve very different routines. One project may need a compact organiser that stays in a vehicle. Another may need a larger bag with several groups of equipment that are carried between locations. The bag brief should describe the routine in plain terms before anyone chooses pockets, dividers, or materials.
Record contents by size, shape, and access order
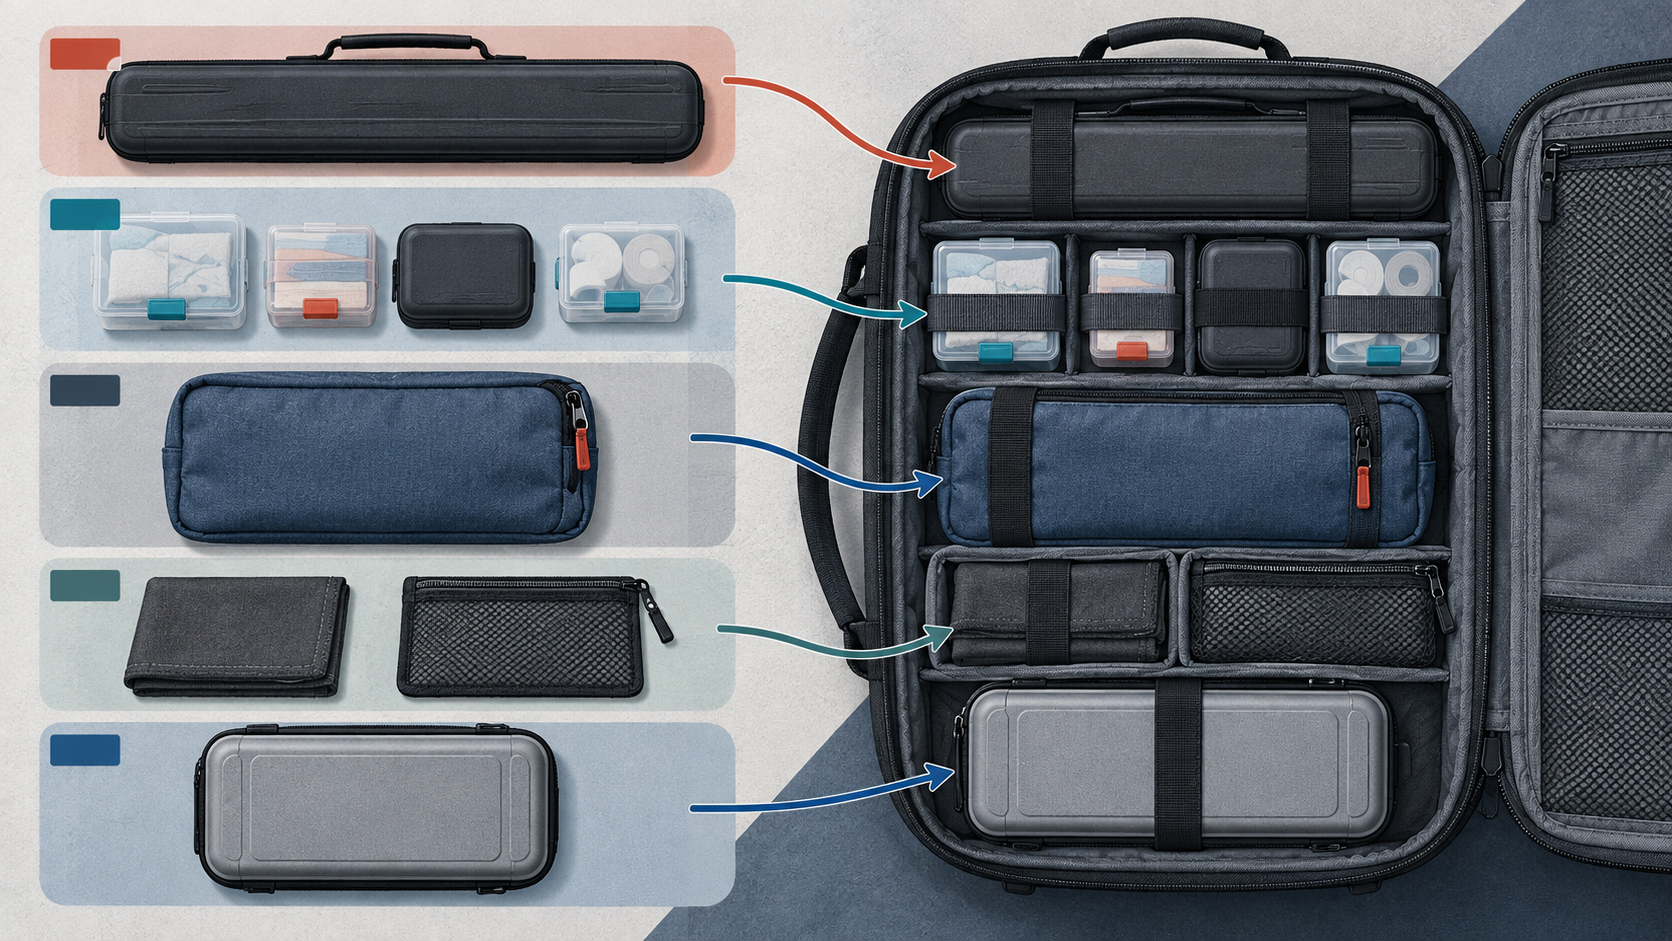
List the intended contents by category rather than attempting to create a medical supply list. For each group, record the largest dimensions, unusual shapes, whether the group changes between versions, and whether it needs to be reached early or only occasionally. Include the quantity of related accessories and any part that cannot be bent, stacked, or placed under pressure without project-specific confirmation.
This inventory makes layout decisions easier. A long item, a group of small loose pieces, and a bulky accessory rarely work well in the same open compartment. A buyer can also note what needs visual separation, what may travel together, and what must stay in a fixed orientation. If a physical item is available, it is usually more useful for a fit review than a set of approximate photos alone.
A bag tech pack can help turn these notes into a clearer project record. The document does not need to answer every question on day one, but it should show which decisions are confirmed and which need a sample check.
Separate bag requirements from clinical requirements
The bag brief should state what the bag needs to organise and how it will be handled. It should not assume that a bag design establishes a clinical procedure, an equipment recommendation, a regulatory status, or a safety result.
For example, a buyer may request visible grouping, a place for a label, a specific opening direction, or a way to keep related accessories together. Those are bag-design inputs. Whether a particular item must be carried, how it is used, and what rules apply to it should be confirmed by the buyer's own qualified team and project documentation.
Plan layout, identification, and access before choosing details
Many layout problems start when compartments are added one by one. The bag may look organised when empty but become difficult to use once the intended contents are loaded. A short access plan prevents that problem.
Grouping, dividers, pockets, and visible identification
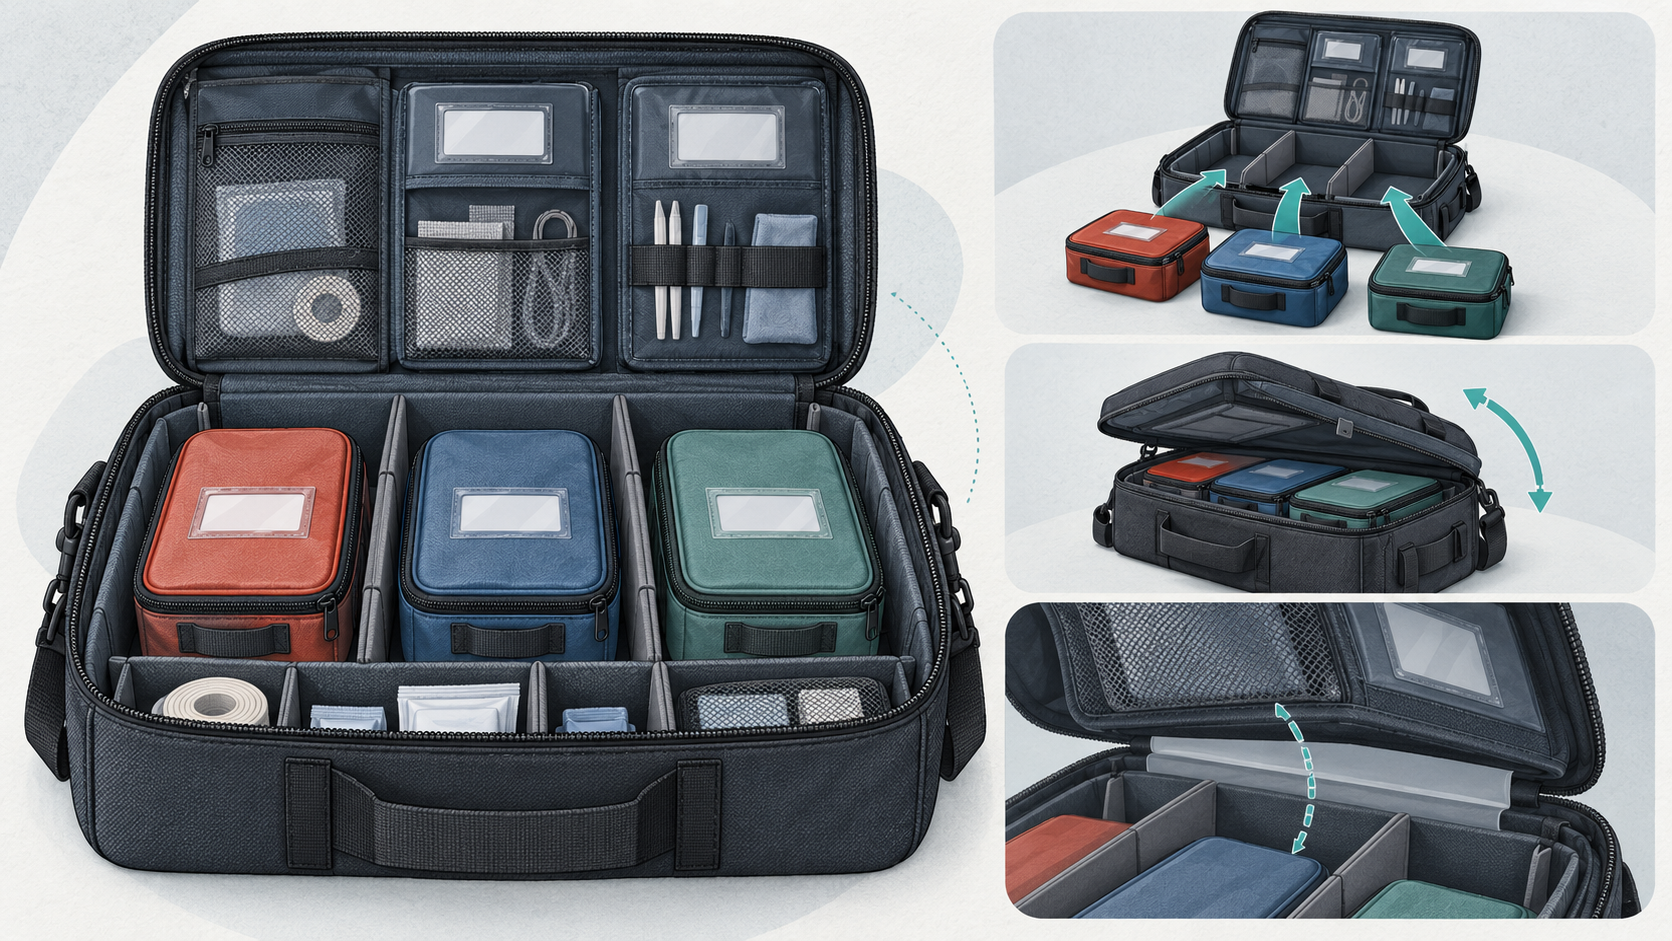
Start by deciding which groups need to stay together and which must be kept apart. Dividers can separate larger groups. Pockets can keep flat or small accessories from moving around. Elastic retention can hold an item in position when the project requires it. A label area, transparent pocket, or colour cue may help a buyer distinguish groups, provided the final identification method is confirmed for the project.
More compartments are not automatically better. A narrow pocket may be hard to use once a bag is loaded. A divider can reduce the clearance needed for a larger item. A full lid pocket can interfere with the base compartment when the bag closes. The first sample should show these interactions with representative contents, not just with empty compartments.
The existing empty first aid bag checklist is useful for a related organiser task. This article focuses on how a B2B team writes the design requirements before the bag layout is finalised.
Opening direction and removal sequence
Describe how the bag should open and what the user needs to see first. A full opening may make it easier to view multiple groups at once. A partial opening may suit a project that needs the bag to keep its shape while open. The practical answer depends on the contents, the carrying orientation, the available space, and the way the bag is expected to be handled.
It also helps to note the removal sequence. If one group must be moved before another can be reached, record that in the brief. If a lid pocket, zipper path, or divider could block access, add it to the sample check. This is a project observation, not a claim about access speed or emergency performance.
Specify carrying, closure, and outer structure inputs
The exterior of the bag has to work with the interior. Before sampling, record whether the bag will be hand-carried, carried with a shoulder strap, stored in another system, or moved in another project-specific way. These choices affect handle position, strap attachment, bag shape, opening direction, and the way the contents sit inside.
Zipper placement is another early decision. A zipper path should let the bag open as intended without trapping an item, crowding a pocket, or making the main compartment difficult to close. A handle or strap should be reviewed with the representative contents in place. A general blog cannot establish a load rating, durability result, or protection level.
Choose a sewn-bag structure or EVA case route by project
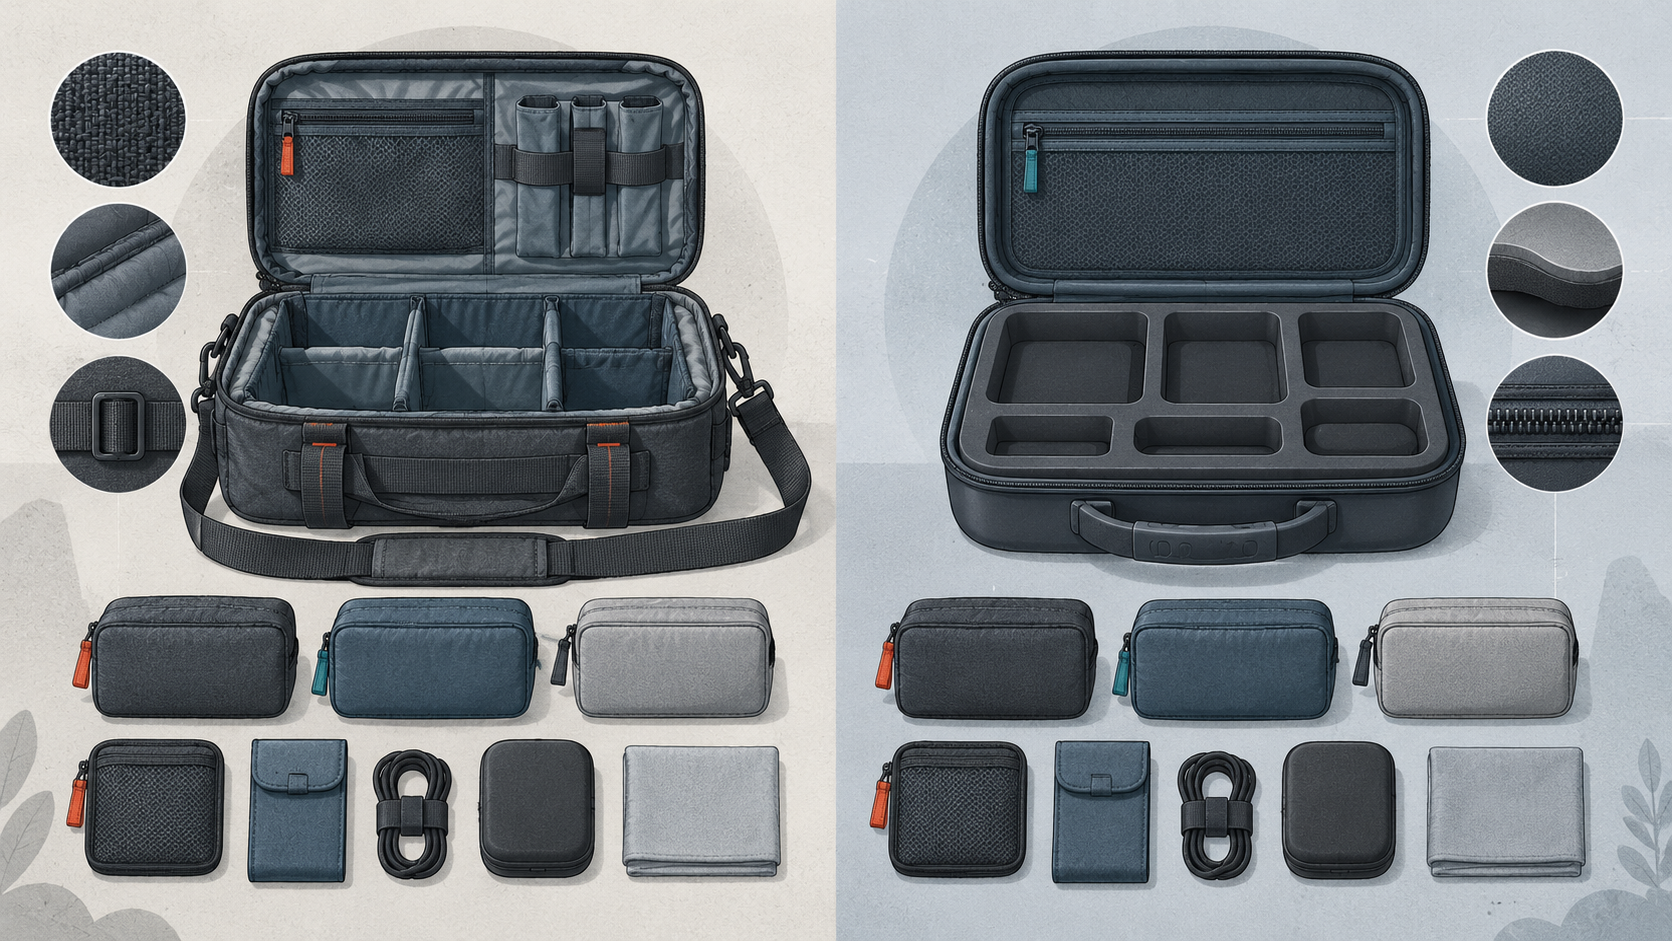
Some projects need the flexibility of a sewn bag with pockets, dividers, and adjustable organisation. Others may need a more structured EVA case arrangement with an internal support approach. The right route depends on the contents, shape, access routine, carrying method, desired appearance, and the details confirmed during development.
EVA is a structural material used in some protective cases. It is not automatically the visible outer surface, and an EVA case is not the same as an injection-moulded hard-plastic box. A sewn bag and an EVA case can also use different combinations of lining, pockets, straps, zippers, dividers, or inserts. The sample should be used to review the chosen structure against the approved brief rather than assuming one material name proves a result.
Use a design-brief table before sampling
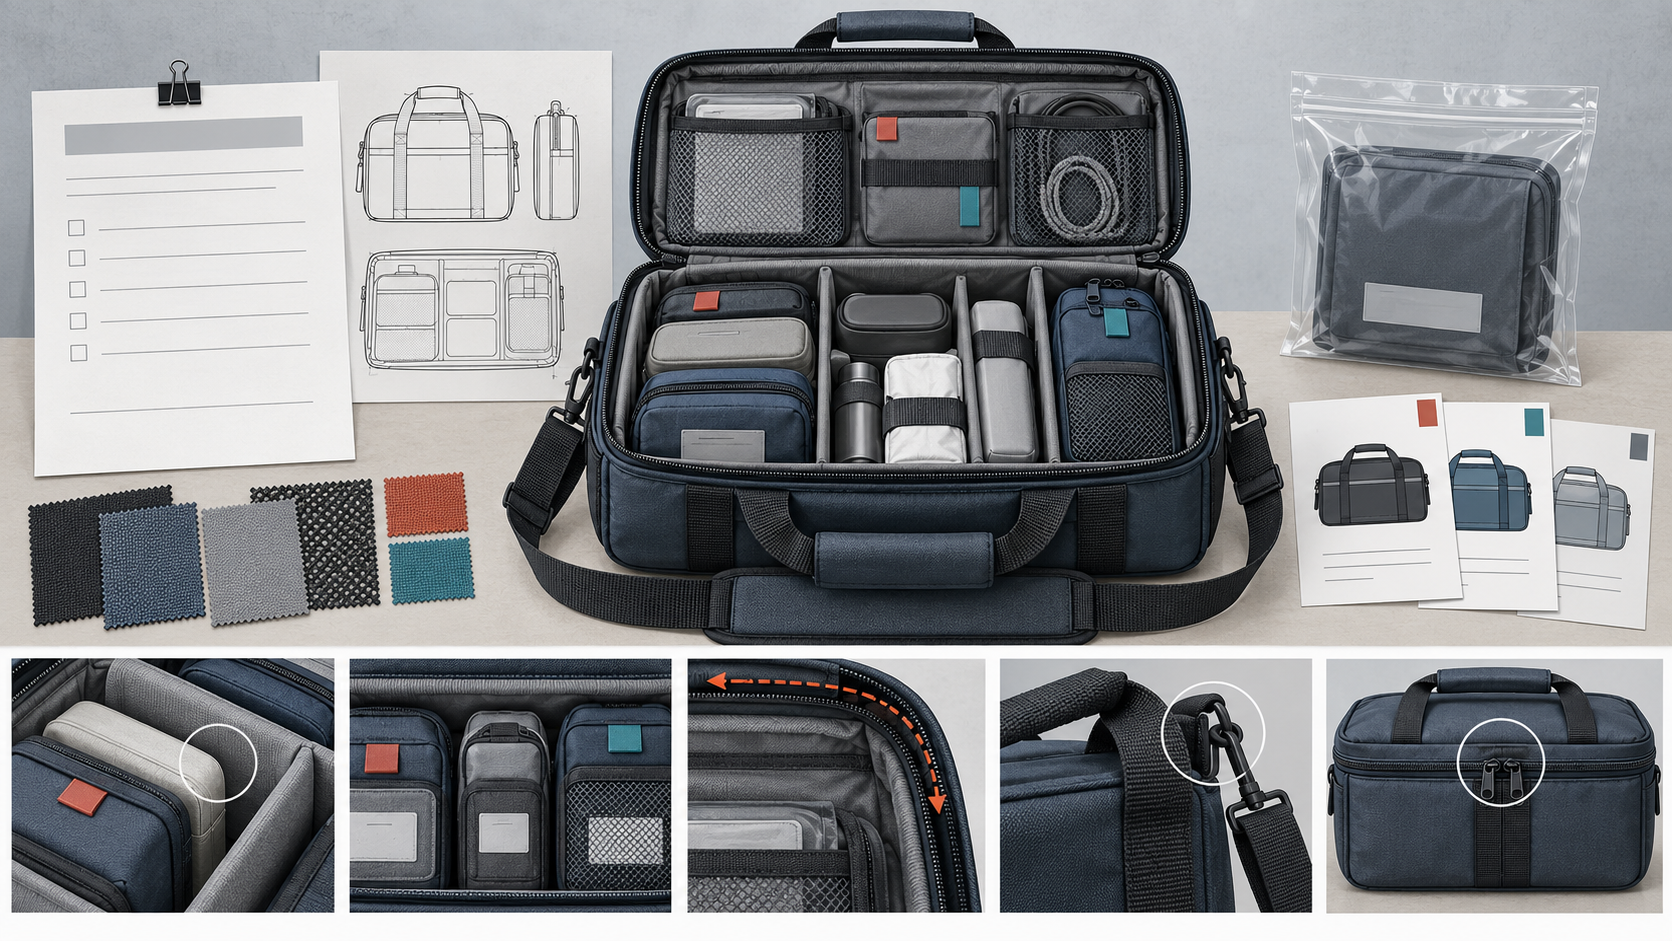
The table below keeps the project discussion tied to decisions that can be checked.
| Brief area | Buyer should clarify | First-sample check |
|---|---|---|
| Intended contents | Categories, dimensions, shapes, accessory variations, and which items travel together | Check representative items for fit and clearance. Record any variation that was not tested. |
| Access and identification | Groups that need separation, labels, pockets, dividers, or a defined removal order | Open and close the sample with representative contents. Note interference, movement, or unclear identification. |
| Carrying arrangement | Hand-carry, shoulder carry, storage, or other project-specific movement inputs | Check the proposed handle or strap arrangement and closure with intended contents. Do not infer a load rating. |
| Structure and materials | Desired shape, outer and lining preferences, internal organisation, zipper route, and appearance | Confirm structure and appearance against the approved sample. Do not treat a material name as proof of performance. |
| Project controls | Branding, packaging, documentation, approval points, and unresolved validation needs | Record the sample version, changes, evidence, and any requirement that needs a separate defined method. |
Review the first sample against the approved brief
The first sample is where a written brief becomes useful. Load it with the agreed representative items and review fit, clearance, internal grouping, opening, closure, handle or strap arrangement, pockets, dividers, logo position, visible identification, and packaging inputs. Mark each issue against the relevant part of the brief so that a revision request identifies the affected component rather than relying on a general comment.
Keep a separate record of what was not checked. If the final project requires a defined test, clinical validation, or regulatory review, that work needs its own method, conditions, acceptance criteria, and reliable project-specific evidence. A normal fit and workmanship review does not replace it.
For a wider workflow covering sample sign-off, see the custom bag sample approval checklist. The purpose of this article is earlier in the process: preparing the design inputs that make a useful sample possible.
How Pengtour can help turn a medical-bag brief into a project
Pengtour works on selected medical-bag projects for overseas B2B buyers. When a project is eligible, the team may review the bag's size, structure, materials, pockets, dividers, zippers, handles, straps, logo, packaging, and sample requirements against the information the buyer provides. The exact configuration and development route depend on the product, contents, materials, order requirements, and project confirmation.
If your brief is ready, the Functional Bags page shows the current product category. You can then use the quote request form to share the bag's intended contents, dimensions, handling routine, preferred layout, branding, packaging inputs, and open questions. Those inputs support a project discussion. They do not create a fixed price, MOQ, lead time, certification, or performance commitment.
FAQ about medical bag design requirements
What should a medical bag design brief include before sampling?
Start with the intended contents at a category level, dimensions and shapes, accessory variations, access order, grouping and identification needs, carrying arrangement, desired opening, structure preferences, branding, packaging, and the sample checks that matter. Keep clinical or regulatory requirements in the buyer's own project documentation rather than assuming the bag brief covers them.
How should a buyer plan compartments and identification without creating a cluttered layout?
Group items that travel together, keep unrelated items separate when the project needs it, and give each pocket or divider a purpose. Review the arrangement with representative contents. The sample should show whether a pocket blocks closure, a divider reduces clearance, or a visible label area becomes hidden once the bag is loaded.
When should a project use a sewn medical bag rather than an EVA case structure?
A sewn-bag route may suit a project that needs flexible pockets, dividers, or a softer structure. An EVA case route may suit a project that needs a more defined outer shape or internal support arrangement. Neither choice is automatic. The buyer should compare the contents, handling routine, access needs, appearance, and proposed sample before deciding.
Can a first sample prove that a medical bag meets clinical or regulatory requirements?
No. A first sample can be used to review the agreed bag structure, fit, access, closure, workmanship, appearance, and packaging inputs. Clinical, regulatory, performance, or certification questions need their own defined requirements and reliable project-specific evidence.
Prepare the brief before asking for a quotation
A useful medical-bag project starts with a clear description of the bag, the intended contents, and the checks the sample needs to answer. When those inputs are recorded early, the layout discussion is easier to review and revise. Prepare the brief first, then discuss the project with Pengtour.