

A tool backpack may look neat and organized when empty, but problems can arise once tools are loaded. The front panel might pull forward, the drill might hit the zipper, or the soft bottom might deform under the weight of the tools.
When customizing functional bags, the first thing to consider is the actual weight used. Details such as the number of pockets, their colors, and the logo design should be decided after the loading route and retrieval needs are clearly defined.
Who would use a tool backpack?
First, it's essential to define the users and their job responsibilities. Electricians, installers, repair technicians, carpenters, and DIY enthusiasts may all carry tools, but their needs regarding tool usage, capacity, and basic infrastructure will differ.
Ask about items that need to be accessed while standing, items that can be stored in the main compartment, and whether the backpack will be carried between campsites, left on wet ground, or used in a vehicle. The answers to these questions will affect the backpack's opening direction, pocket depth, handle placement, and shoulder strap design.
Why is a tool list more important than backpack size?
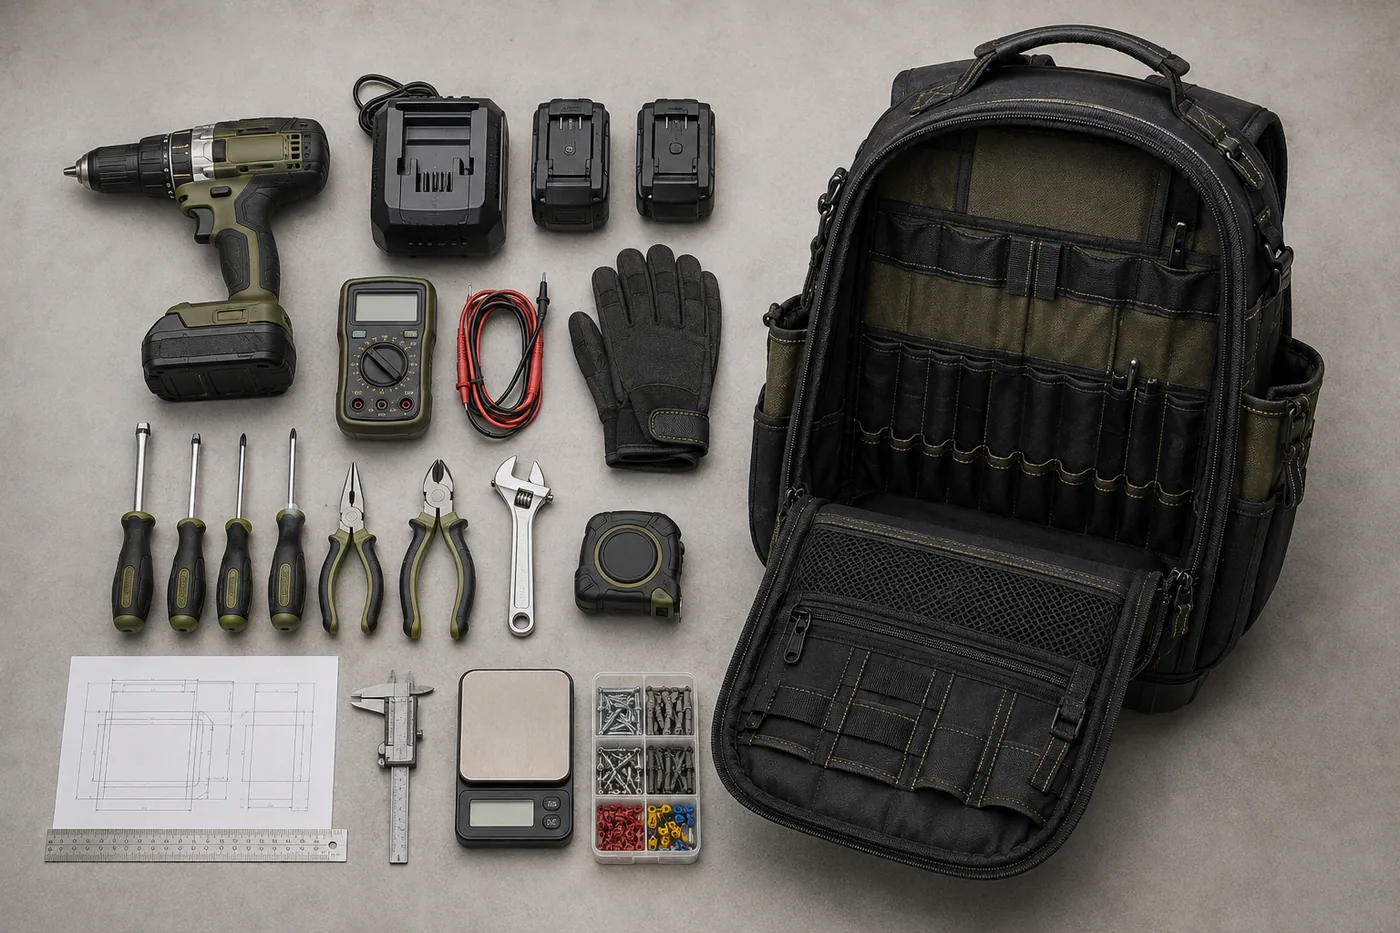
External dimensions do not adequately describe the project contents. The factory requires a tool list specifying the approximate dimensions and weight of each item: drill bits, batteries, hand tools, instruments, consumables, chargers, and personal protective equipment.
Long screwdrivers require vertical mounting space. Heavy batteries require stable, low-profile mounting. Pliers need an opening to secure the handle without hindering disassembly speed. If the buyer provides the required tool kit, the internal layout can be designed based on actual usage, rather than simply guessing based on external dimensions.
How does load affect the performance of a custom tool backpack?
The load not only affects shoulder comfort, but also changes the stress on the bottom of the backpack, the handle connection, the shoulder strap fixing point, the end of the zipper, and the stitching around the main opening.
Based on our factory's experience, what matters is not only the expected total weight, but also where the heaviest tools are placed, and how the load moves when the wearer walks, puts down the tool bag, or opens the front cover.
Provide the factory with the target load weight and identify the heaviest component. This informs the development team's review of fabric selection, webbing, reinforcement materials, bottom structure, and sample inspection. This load rating is not a universal standard unless the project team agrees on specific testing methods and acceptance criteria.
Which bottom structure is suitable for this tool?
The bottom design is for structural reasons, not for aesthetics.
- Rigid molded bottom: Made ofPP, ABS, or similar molded plastic, it helps the tool bag stand upright and prevents ground moisture from damaging it. However, due to the increased weight and cost, it is more suitable for professional tool sets that require stronger support.
- Soft textile bottom:Durable canvas or nylon makes the bag lighter and more flexible. It may be suitable for lighter hand tool sets, but its shape and wear areas after loading need to be reassessed.
- Reinforced base plate:PE board or high-density EVA layer can provide moderate support while being lighter than a one-piece molded base plate. However, its protective performance is not as good as a fully molded rigid base plate.
Based on our factory's experience, some heavy-duty toolboxes can weigh close to 1.9 kg before tools are loaded. This is just a project reference value, not a product requirement. For soft-bottomed toolboxes with a working load close to 8-10 kg, we should carefully assess their deformation risk, seams, and intended users, rather than simply selecting materials.
How should the internal tool layout be designed?
During the initial layout review, please use actual tools. Determine which tools should be placed in fixed vertical pockets, which require flexible securing, and which should be placed in protected main compartments.
Place the heaviest gear at the bottom of the backpack, near the back panel. Leave enough space above frequently used tools for hand movement. Check that the backpack is closed to ensure no tools obstruct the zipper or compress other parts.
For removable storage compartments, manufacturers should confirm their installation method and whether they remain stable when the bag is opened. Removable panels may be practical, but they should be tested after the intended tools are loaded, not inspected with the bag empty.
Which hidden areas need to be reinforced?
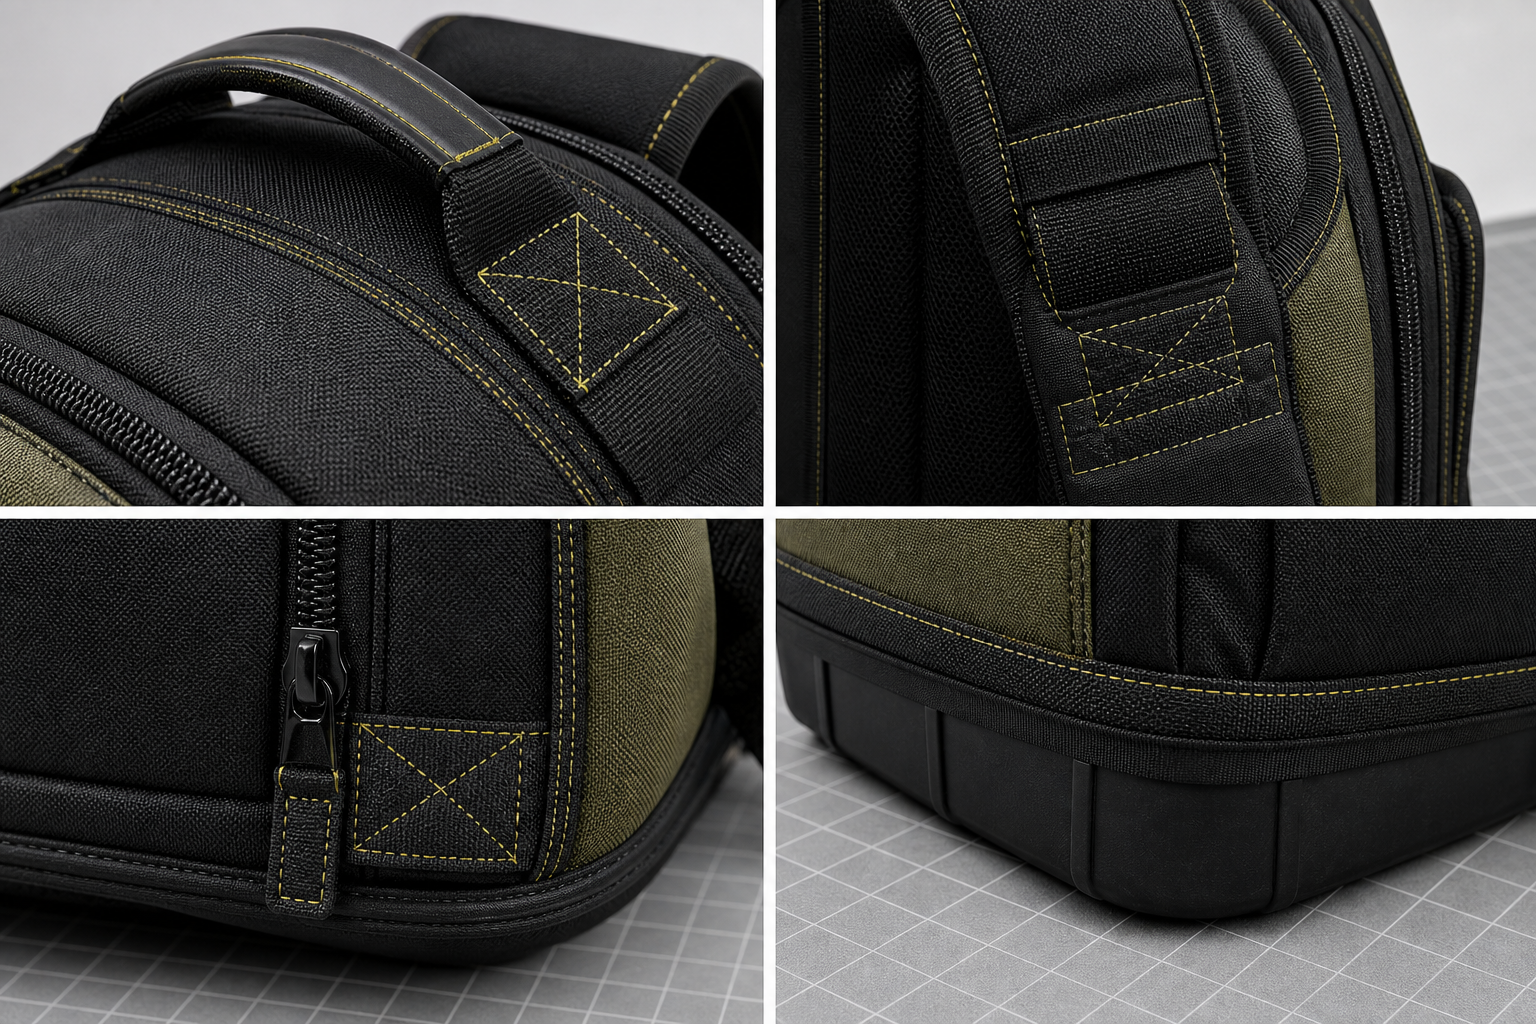
Many production problems appear in areas not easily visible in product photos: the base of the handles, the shoulder strap anchor points, the ends of the zippers, the front hinges, the webbing connections, and the seams where the body connects to the bottom.
These areas may require reinforcement layers, wider webbing, adjustments to stitching, edging, or repositioning of components. The appropriate solution depends on the materials, construction, and usage conditions. Do not mistake generic reinforcement details for proof of the finished bag's load-bearing capacity.
How can I verify the quality of zippers, webbing, and hardware?
Before sampling, please confirm the zipper type, zipper pull size, zipper tab shape, webbing width, fastener material, and hardware surface treatment. The zipper should still slide smoothly when the main compartment is full of garments and the garment is under normal tension.
For more specific information on zipper selection, please refer to Pengtour's Custom Functional Pack Zipper Selection Guide. If a component needs to bear weight or be used in wet or abrasive environments, be sure to agree on the relevant usage conditions and sample testing methods, rather than relying solely on the component name.
How should tool backpack samples be tested?
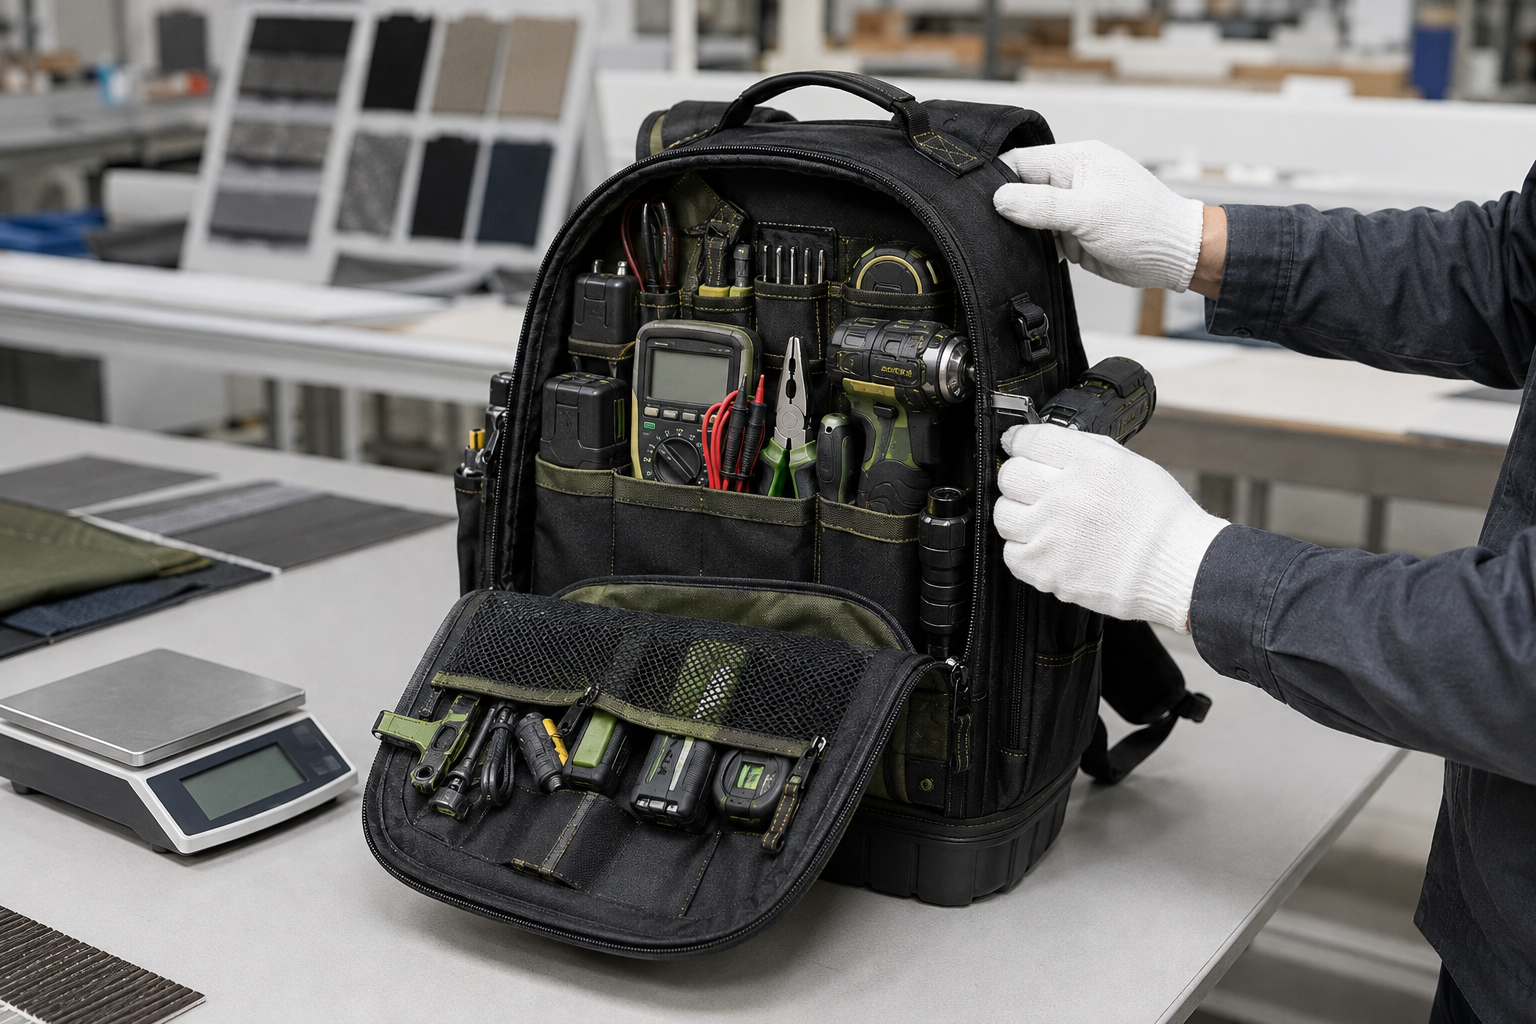
Place the tool kit in a sample bag for testing. Wear it on your back, then put it down, open all compartments, remove commonly used tools, and then close the bag again under normal load. Check the backpack's balance, accessibility, pocket security, zipper smoothness, handle comfort, and stability on the ground.
If the project requires seam strength verification, ASTM D1683/D1683Mis a test method for detecting seam failure in woven fabrics. However, it cannot certify the entire backpack on its own, so the project still needs to develop its own defect definitions and acceptance criteria.
For batch inspection, determine the sampling plan and defect classification before production.ISO 2859-1describes a batch-by-batch attribute inspection sampling plan based on AQL indicators; however, it does not specify which defects your project should consider critical, major, or minor. Pengtour's quality control checklist for sewn functional bagscan help clarify these issues.
What information should you send before requesting a quote for the tool backpack?
- Tools list (including approximate dimensions and weight)
- Target load weight and heaviest tool
- Reference photos, sketches, or technical data packages
- Ideal bottom structure and required usage environment
- Essential pockets, detachable panels, shoulder straps, and hardware.
- Logo design, location, color and packaging requirements
- Target quantity and required sampling or delivery time
Even labeled reference photographs are more useful than mere external dimensions. They provide a practical basis for factory review of structures, materials, components, and sample designs.
Please send us your tool list, target workload, reference images, and quantities so we can evaluate the project and provide a quote. We can also help you transform your working toolkit into a clearer development brief before creating a sample.