


Pleats on the sides or bottom of a bag refer to the additional fabric or folds on the sides or bottom of the bag. In bag terminology, it refers to a structural area of the bag, not a guaranteed capacity, strength, or finished look. Inkable Label also uses this narrow, location-based meaning in its definition of the term .
For B2B bag projects, the above definition is merely a starting point. A requirement like "making the bag more spacious" is too general and cannot be evaluated using drawings or samples. The truly useful questions are: Where should the extra material be placed? What items need to be accommodated? And what other items will this extra material come into contact with when the bag is opened, carried, or packed?
What is a bag's side seam—and what does it not determine?
In bag sewing, side seams can be described by their location near the side or bottom. This helps buyers and the development team locate the same area on reference samples or drawings.
The term itself cannot define the entire project. It cannot tell the team the final depth, the materials used, the bag's capacity, or the stitching method. These decisions depend on the contents of the bag, how it is accessed, the surrounding components, and the approved project specifications.
This distinction is useful when a buyer already likes the shape of a reference bag. Instead of demanding "the same side seams," mark the areas that need to be joined and explain the function that structure needs to fulfill in that specific project.
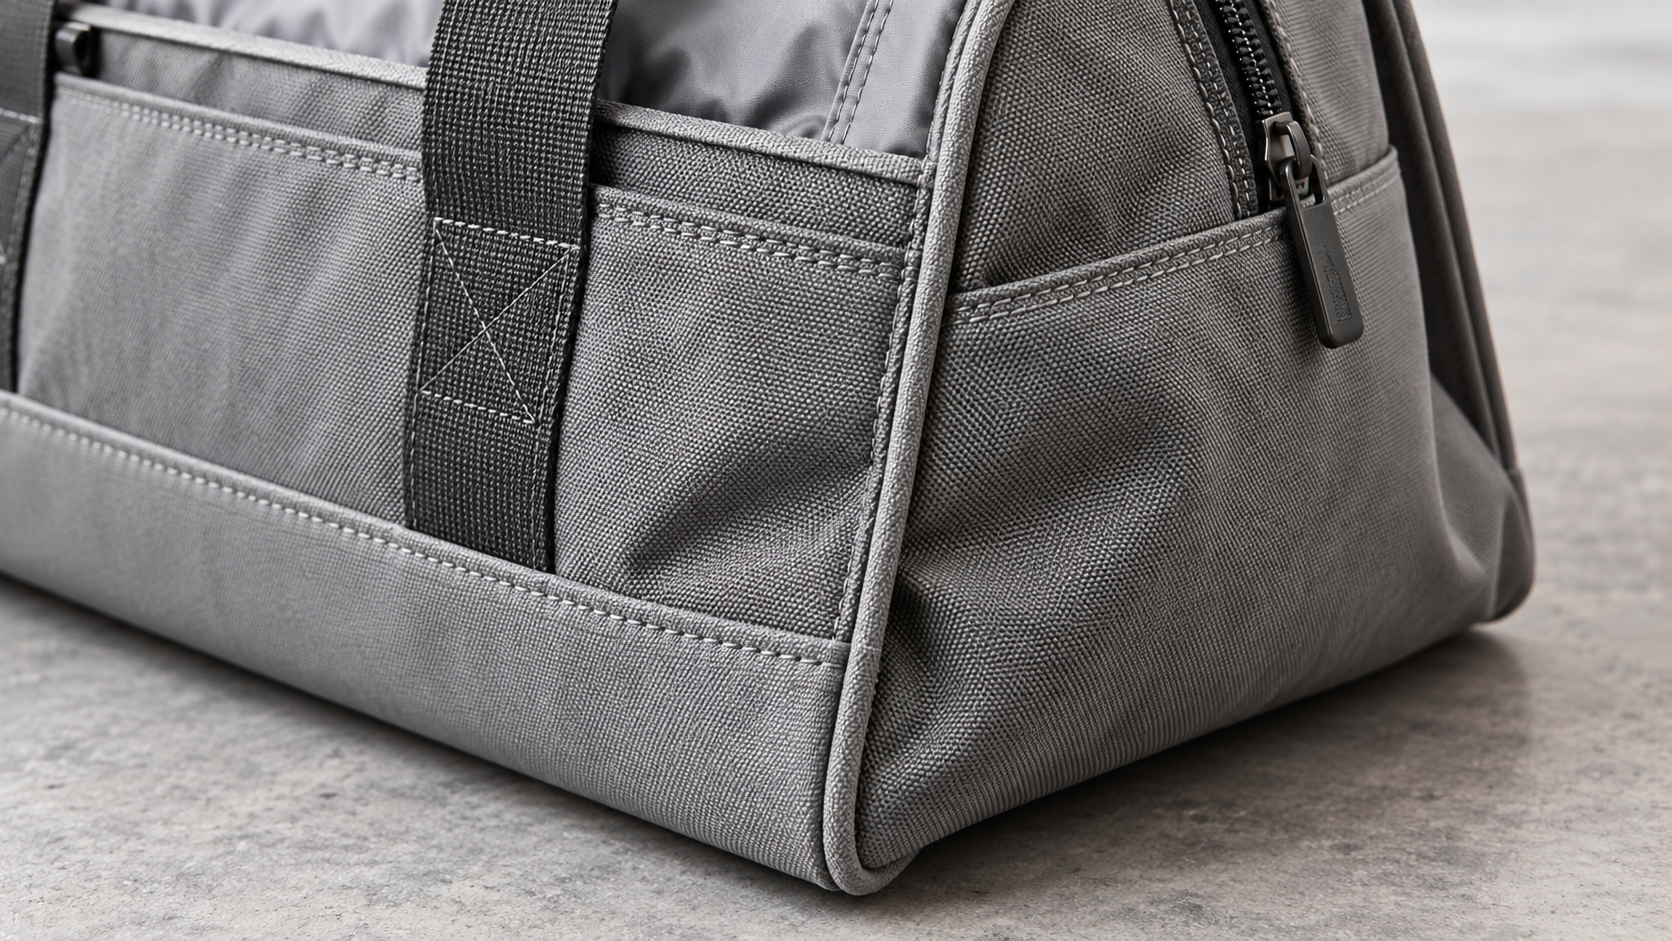
Consider content and access permissions first, rather than depth and quantity.
Depth figures alone are not very meaningful. The first thing to consider is the items to be put into the bag, and how people need to access those items.
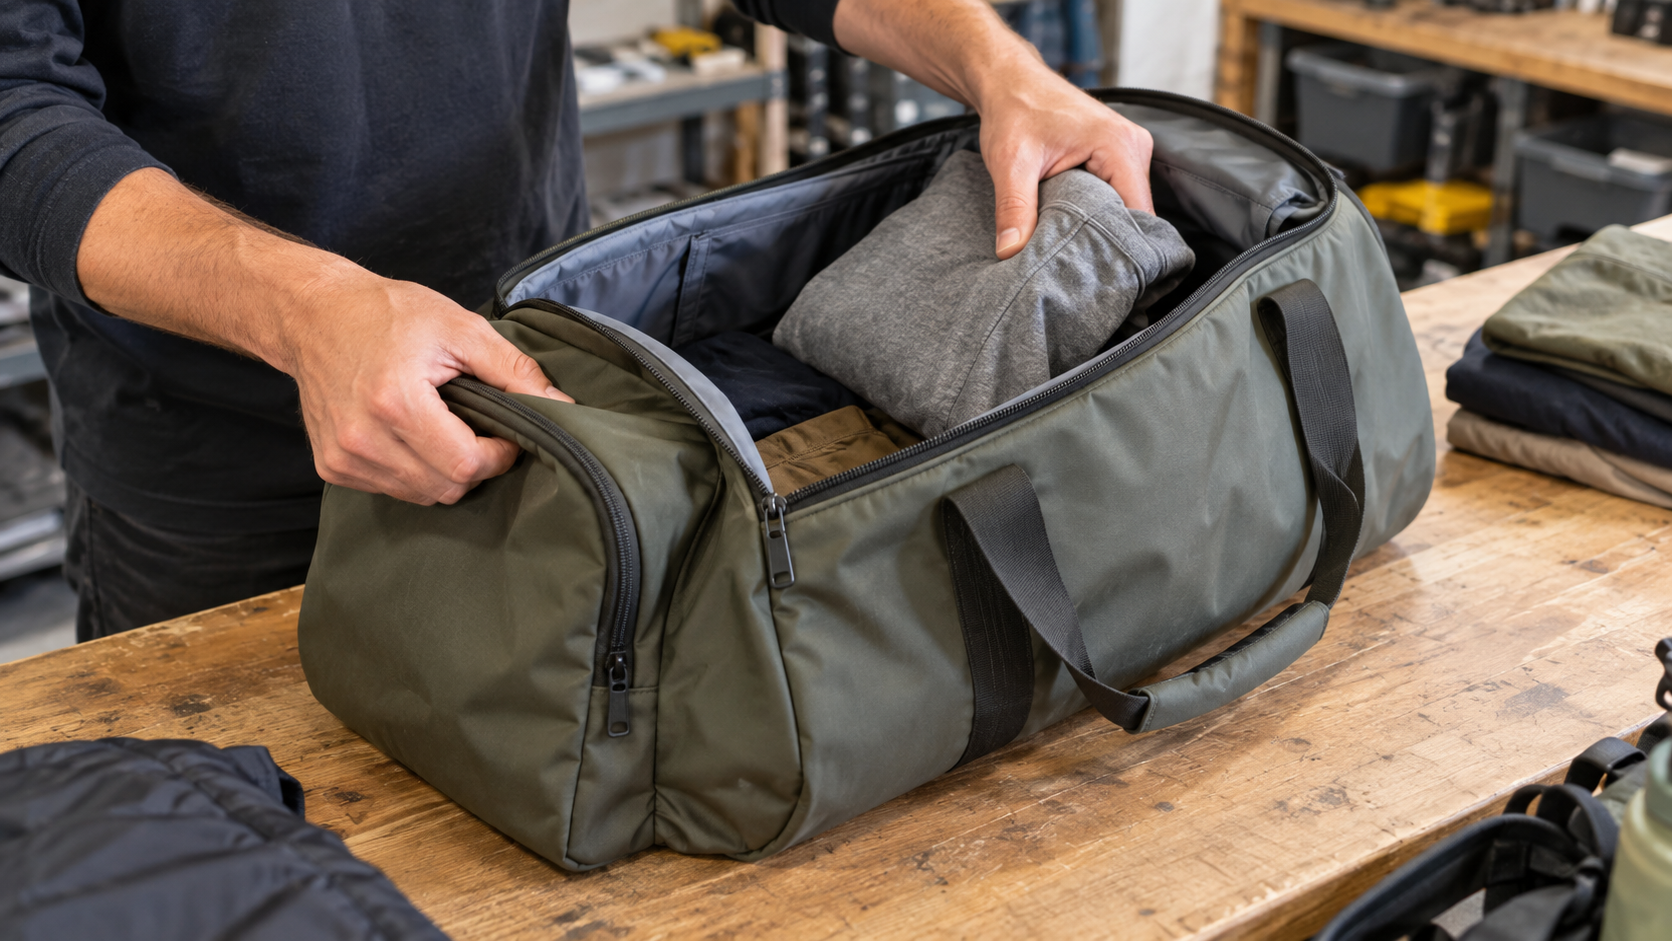
For example, a buyer might need to confirm whether the main item is inside the bag and whether accessories have been removed; whether the bag must be fully opened to be laid flat on the workbench; or whether there are pockets next to the discussion area. These details can affect whether the proposed placement is worth reviewing on the sample.
Before adding dimensions, please write down:
- The main items and the necessary accessories that must be present at the same time;
- The intended orientation of these items;
- How the bag is opened and how frequently items are taken out;
- Are there pockets, zippers, handles, or partitions next to the proposed construction area?
- Reference items, drawings, or photographs that can demonstrate the buyer's intent.
This list is not a replacement for the complete specification. It provides the team with enough context to ask the right follow-up questions, rather than treating a single number as the entirety of the structured decision.
Describe the side seams in the bag
The clearest briefing will explicitly indicate the location and adjacent components. Even if it only says "add side gusset plate", it may still be interpreted differently if it does not specify which side, where the start and end points are, or what happened near the opening.
Use a labeled photograph, a simple diagram, or an existing sample to illustrate the area. Then briefly explain what must be clearly visible. This might include the opening path, the access to stored items, nearby inner pockets, or the correct position of the bag when in use. Providing a reference item is especially helpful when terms like "wide," "deep," or "expandable" may mean different things to different people.
If the project team is still deciding whether to use a sewn-in bag or another type of bag, the sewn-in bag guide can provide broader context. Side seam instructions should be as concise as possible: they should only address one structural area discussed above.
If the requirements are based on existing sewn bags, then you should also document which parts need to remain unchanged. For example, the buyer might want to add space in a certain area while keeping the opening direction, internal layout, or carrying method the same. Documenting the necessary changes and the parts that need to remain consistent will help make the initial sample review easier. 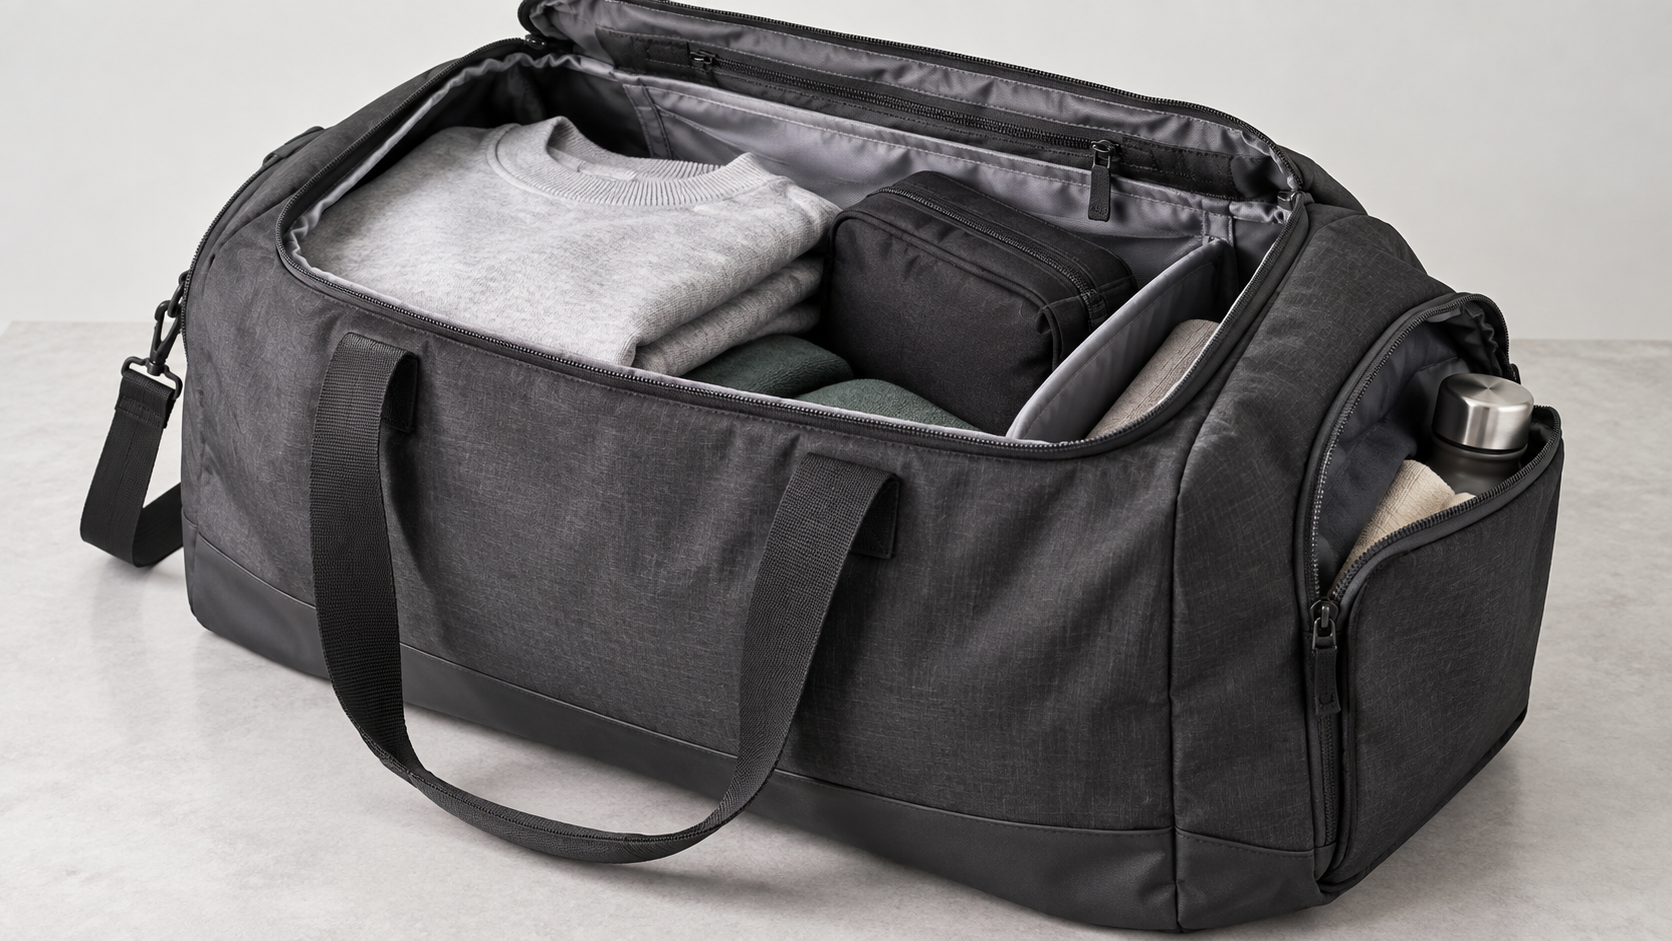
Brief instructions for the side seam of the bag sewing project
This is a practical starting record, not a mandatory template, and it cannot replace a technology package.
| enter | What to record |
|---|---|
| Project Content | The main items, accessories, and their storage location. |
| Corner brace position | The side or bottom area in question is shown in photographs, drawings, or reference samples. |
| Access Requirements | How users can open the bag and take out or put back the contents. |
| Adjacent components | Any openings, pockets, dividers, handles, or other features must be considered in the same view. |
| References and unresolved issues | What do the references prove, what do they not prove, and which points need to be confirmed on the first sample? |
When a project requires more comprehensive documentation, include these notes in the technical package along with other dimensions, materials, branding, packaging, and approval information. Side seam notes should clarify a structural design decision, rather than serving as a separate and unrelated statement.
What needs to be checked in the first sample?
The first example is where you compare the written requirements with the actual bag. Please check the side pleats of the bag in conjunction with the description in the written requirements.
- Does the location marked on the sample match the approved drawings or reference items?
- Do the expected items and accessories match the layout described in the briefing?
- Can the bag be opened and used normally without obviously interfering with nearby openings, pockets, compartments, or handles?
- Can you see the parts that need to be changed and the parts that need to remain unchanged on the samples?
- Are there any unresolved issues before the project moves to the next approval stage?
These are project review issues, not laboratory tests or general acceptance criteria. The appropriate inspection and acceptance details should be confirmed based on the approved samples and project requirements.
For a more comprehensive review of the entire sample, please use the Custom Bag Sample Approval Checklist . This checklist includes the side seams as part of the bag's structure.
How Pengtour supports the discussion of gusset plates
For bag sewing projects, Pengtour can evaluate structural and design inputs based on physical products, dimensions, photographs, reference samples, drawings, or intended use. Samples can then be used to review structural solutions proposed within the specific project context.
The final solution still depends on the bag's structure, materials, target cost, production feasibility, and agreed-upon samples or written specifications. Discussions about the side seams are most effective when combined with discussions of the bag's contents, usage requirements, and relevant context to review specific project-related decisions.
Frequently Asked Questions: Questions Buyers Often Ask
What does an accordion-pleated bag look like?
It adds extra material or folds to the sides or bottom. The final effect depends on the bag's design, so providing a clear reference photo or drawing is more helpful than just a text description.
What is the function of the side seam?
It indicates the areas in the packaging structure that require additional material or folding. In the project briefing, the buyer should specify which items this area needs to accommodate and its relationship to the items to be retrieved and nearby components.
Are there any other names for pleats?
The team can describe the feature based on its location, such as side scrap or bottom scrap. However, these descriptions cannot replace labeling, because location-based terms alone cannot fully capture the design intent.
What size accordion bag do I need?
There are no universally applicable dimensions. First, consider the contents, orientation, access order, reference objects, and components adjacent to the intended area. Identify unresolved issues on a sample, rather than assuming reference dimensions will be applicable without modification.
The decision will be written into the next document.
Use the term "corner gusset" to identify the structure, and then document the project conditions that give it meaning. Clear labeling, concise structural descriptions, and sample review questions are more useful than vague requests for additional space. Once this information is prepared, include it in the project technical package and submit it for the first round of sample approval review.