


The optimal EVA foam lining color should allow users to easily identify, remove, and return products and accessories within the finished product box. Before production, inspect the actual electronic products in the lining tray: check upon first opening, remove the main unit, locate each accessory, and then close the box again. Even if the lining color looks aesthetically pleasing, items such as dark-colored cameras, black headphones, or thin cables may still be difficult to spot inside the box.
This guide is intended for teams developing custom EVA headphone, camera, and consumer electronics kit housings. It focuses on the product's visibility within the housing and sample availability. This guide is not a general brand color approval guide and should not replace size approval, production quality control, or formal color tolerance specifications.
The problem lies in usability, not just appearance.
When the box is opened, the internal tray is clearly visible. Its color not only affects the first impression but also influences the ease with which the user can understand the contents. After opening the box, customers should be able to answer some simple questions without searching.
- Where is the host computer?
- Which compartment is used to store cables, adapters, batteries, or instruction manuals?
- Are any accessories missing from the designated location?
- Is it possible to lift the item without confusing it with the insertion face?
These issues become especially important when the product and the protective case have a similar visual appeal. A black device paired with a black or dark protective case looks clean and sophisticated, but the shape of small accessories or the edges of cables may become less noticeable. Light-colored protective cases can create a stronger contrast, but still need to match the overall presentation of the product. There is no one-size-fits-all best color. The right choice depends on the product itself, the accessories, and how the protective case will be used.
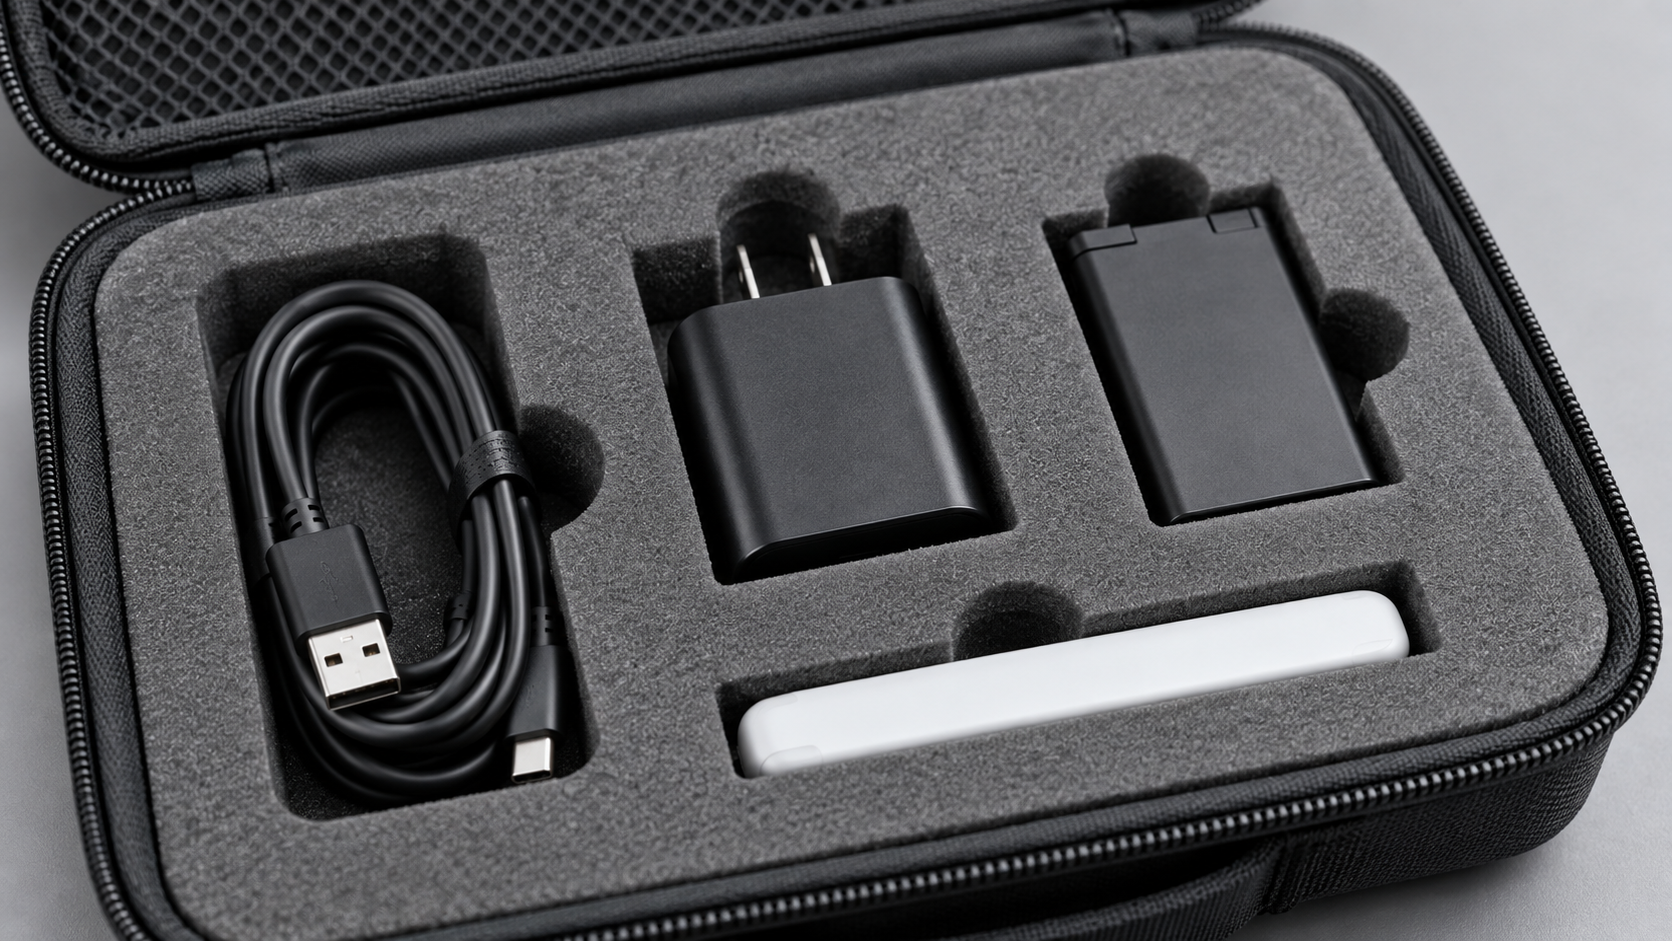
Let's start with the already loaded product sets.
Do not select the foam lining color based on the empty box rendering. The actual product shipped or the kit used should be used as the reference for evaluation.
| Loading items | What needs to be checked in the sample? |
|---|---|
| host | Can the user immediately see its location and determine its orientation? |
| Charger, data cable or adapter | Are the accessories visually separate from the components and easy to find? |
| Small detachable parts | Can an inspector determine if a cavity is empty without touching it? |
| manual or card | Is it distinct from the lining and accessory areas? |
| The product has a variety of surface treatments. | Does this insert support a consistent presentation across all anticipated product releases? |
For the headphone case, pack the headphones in their intended folded or stowed position, then add the headphone cable and any adapters. For the camera case, pack the camera body, lenses, batteries, cables, and other items you plan to carry. Reviews should use actual products whenever possible. If an actual product is unavailable, use a model that is representative in size and appearance, and document this limitation.
The custom EVA enclosure design requirements before sample production cover a wider range of requirements, including product size, accessory layout, opening direction, and sample compatibility.
Perform a four-step visibility check
The inner layer color of the tray is tested using physical samples to simulate real-world user scenarios. This test requires no laboratory operation and only requires following a consistent inspection procedure.
1. Open the box and scan.
Open the sample like a user. Before touching the contents, check that the product and its various accessory areas are clearly visible. While it may look aesthetically pleasing if the main product and lining are integrated, it reduces practicality for multi-piece sets.
2. Remove the main product
When removing the device, do not remove other components first. Ensure the lifting area, finger-accessible areas, and cavity contours remain unobstructed. The foam color should not obscure visual cues that help users understand the product's location.
3. Locate and remove each accessory.
Ask a reviewer who wasn't involved in the sample setup to help locate cables, adapters, batteries, or other small parts. This is a straightforward and effective method to identify items that are similarly colored and easily hidden in the tray, or multiple items that appear to occupy the same area.
4. Return the set and close the box.
Put all items back in their places and close the box. This not only verifies the colors but also confirms that the visual presentation matches the actual storage method, and that the selected linings, products, and accessories fit perfectly in the assembled box.
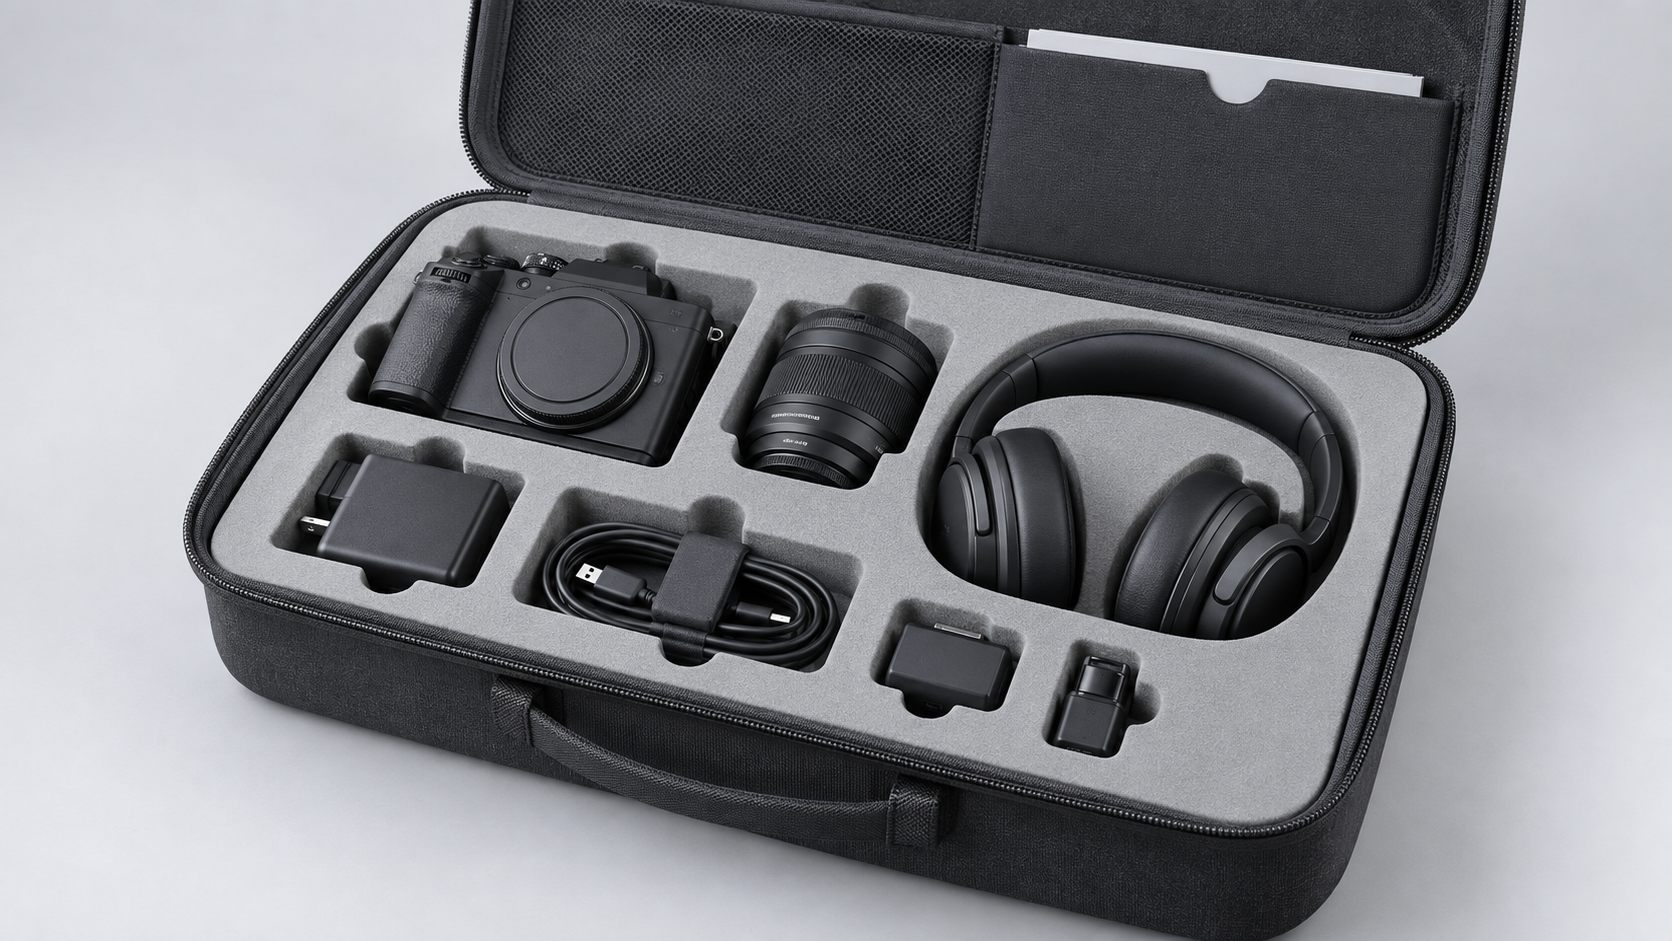
Choose contrast based on components, rather than by a single rule.
The main unit does not need to be treated with the same visual style as all accessories. A project can use one insert color for the main unit housing and a related but different treatment for small removable parts, provided that the overall appearance of the casing remains consistent and the design is clear in the approved samples.
| Product Information | Design problems to be solved in the sample |
|---|---|
| Dark headphones or camera | Does the internal tray make it easy to see the product outline and accessory area? |
| Lightweight products or white accessories | Do the inserts provide sufficient visual separation without overshadowing the main content? |
| Black cable and adapter | Can users quickly identify each component within a specified area? |
| Several small accessories | Are the vacant positions clearly visible? |
| High-end retail display | Can this comparison both enhance the brand image and ensure the product is easy to use? |
This is a design consideration and does not guarantee that all materials will exhibit the exact same effect under all observation conditions. Please document the actual assembled sample, rather than relying solely on color names, screen renders, or general instructions such as "darken the internal colors."
Draw the visible area using 2D drawings or 3D models.
Before mold making, use 2D drawings or 3D models to show the areas where the user can see the insert's color and the areas that the product will cover. Please clearly mark the following areas:
- Main product: cavity.
- Adnexal cavity or incision.
- Lid lining and any mesh pocket areas.
- Finger buckle, pull ring or other opening method.
- The area visible when the box is opened after the product is loaded.
The drawings are not proof of the final appearance, but rather a common design for the project team to create a physical prototype. During the review, compare the installed sample with this design and note any areas where the location of products, components, or accessories is difficult to identify.
During the customized project review process, Pengtour can discuss matters such as 2D drawings, 3D models or renderings, mold design confirmation, physical samples, and product loading confirmation. Specific support offered and the final project scope need to be confirmed for each inquiry.
Separate contrast decisions from general color approvals.
General color approval aims to confirm that material references, components, and physical options meet project requirements. Insertion contrast review aims to confirm that installed electronic components are still usable and easily understandable after the chassis is opened.
Both decisions can use the same sample, but should be documented separately. The first decision may involve the outer fabric, lining, trim, or brand color. The second decision concerns the relationship between the lining and the actual product set. For general workflow information on material references and physical color options, please refer to "Custom Bag Fabric Color Approval" .
Add availability descriptions to the sample approval record.
In addition to the routine fit and appearance checks, a brief insert for visibility assessment should be added to the sample record:
| Record fields | Write something |
|---|---|
| Example version | Exact sample date or identifier that has been audited |
| Product collection loaded | Main equipment and accessories used in the inspection |
| Insert color/material | Reviewed physical reference or sample assembly |
| Visibility results | Product and accessory locations are clear / need revision |
| Specific issues | Problems involving objects, cavities, or fields of vision that require correction. |
| Next stage | Modify samples, manufacture molds, or put directly into production. |
| Decision makers | Individual or team that approves sample results |
This step avoids future ambiguities: the team might approve the color orientation but not the practicality of the internal filling. A complete sample review process should still check fit, closure, product orientation, accessory separation, labeling, and packaging. Please use a customized EVA storage box sample approval checklist for a more comprehensive review.
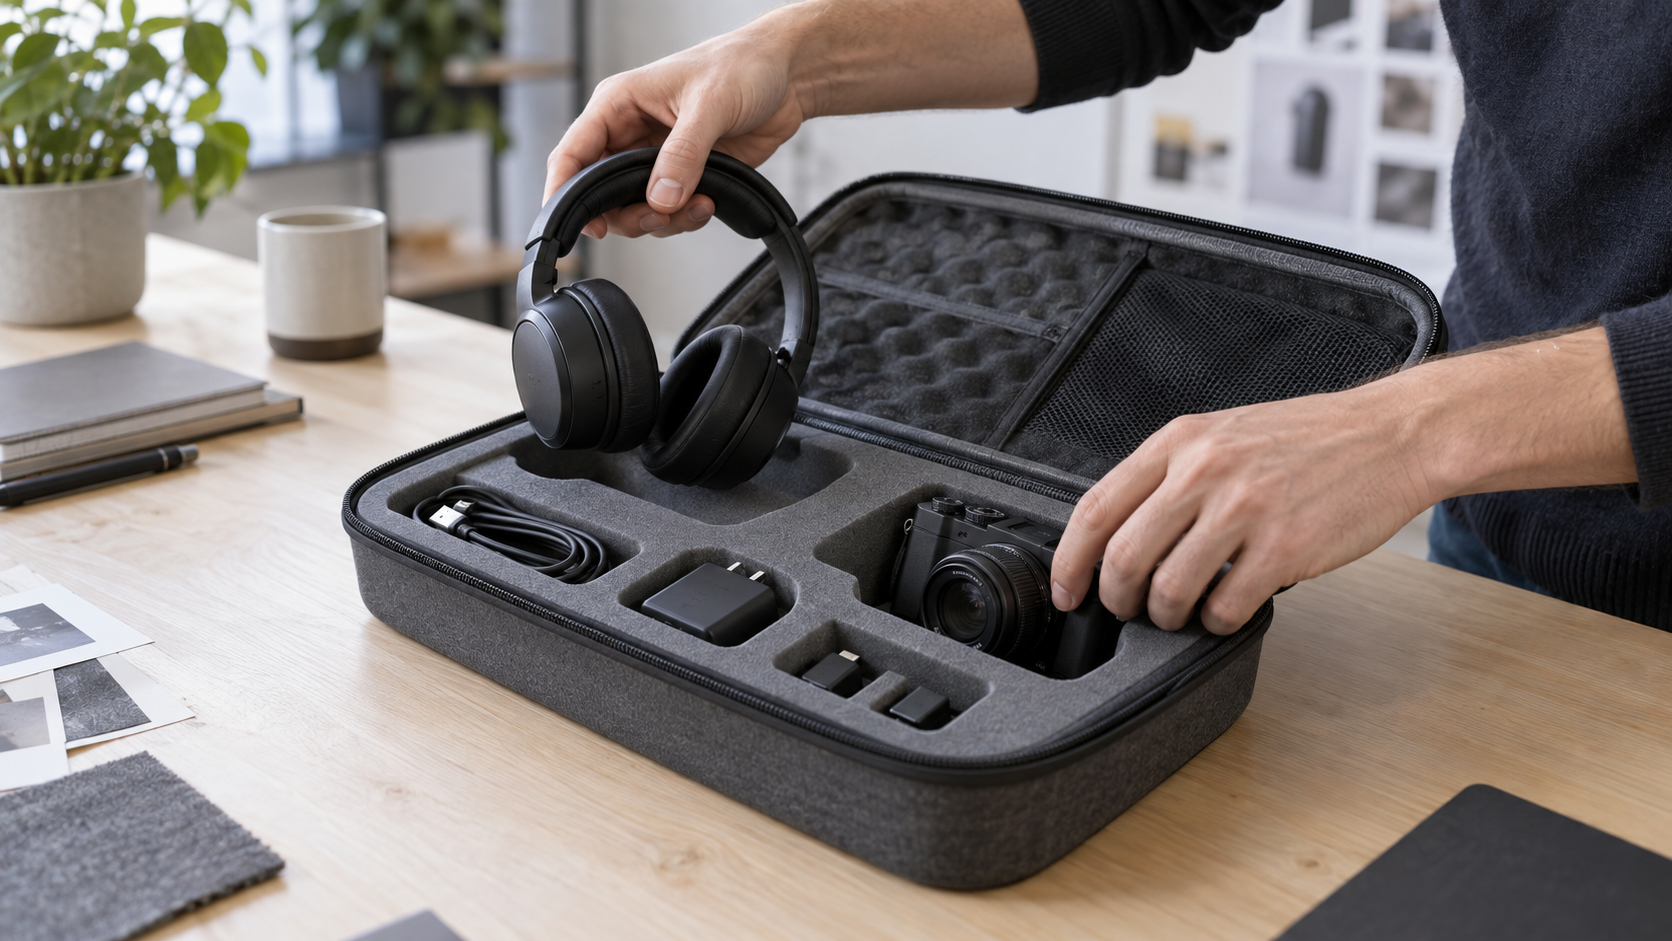
Common problems found during sample loading inspection
The product looks good, but the accessories area has disappeared.
The main unit may be a striking color contrast with the accessories, but some small black cables, adapters, or batteries can be difficult to find. Please check the entire product set, not just the largest component.
After opening the lid, the inner lining looked different.
The lid liner, mesh pocket, and product surface all affect the overall appearance of the interior. Please fully open the sample and place it in the intended use location for inspection before confirming the visual effect.
The revised version will change the product's appearance.
Changing the lining color, lining, or cavity shape may alter the product's appearance when the box is opened. After modifications, the assembled sample should be re-examined, rather than approving a single piece of material.
This decision was based on only one photograph.
Photos are useful records, but they can alter the visual color of items and fail to demonstrate how easily users can find or remove them. Photos should be used to document the physical inspection process, not as a substitute for physical inspection when the loading status is critical.
List of things buyers need to check before approving the color of the EVA foam lining
- Have we reviewed the packaging boxes containing the actual product and planned accessories?
- Can the reviewers identify the main product, product direction, and various accessory areas upon first opening the packaging?
- Are the locations of unused parts easy to spot?
- Have we checked the lid lining, pockets, and inner lining together?
- Do the drawings or models indicate the visible internal areas and passageway features?
- Did we record the sample version, visibility results, unresolved issues, and the decision-maker?
- Does this decision allow for modifications to samples, molds, or production?
If these issues are not addressed, even if the color itself appears acceptable, the visual decision is incomplete. A simple sample test before moving the project to the next phase can reveal these problems.
Frequently Asked Questions
Does the EVA foam lining necessarily need to contrast with the product?
No. Strong contrast can improve visibility, but the appropriate visual effect depends on the product, accessories, and intended display method. Please review the actual loaded sample and make a decision based on its availability and project direction.
Can the same insert color be used for different product colors?
It's possible, but it should be verified for each target product version. If a color makes a certain finish clearly visible, it may reduce the distinguishability of another finish or accessory combination.
Does confirming the color of the insert prove that the product size is appropriate or that the protective performance is good?
No. The visibility of the insert is only one of the sample review criteria. Dimensions, gaps, closure methods, materials, and any protection requirements all need to be checked separately.
What items should the buyer send for effective insert comparison testing?
Please send the actual product or representative model, planned accessories, drawings or renderings showing the internal structure, any material or color references, and the decision-maker who specifies the physical sample.
Next step
Before requesting a quote, please prepare your product kit, accessory list, 2D drawings or 3D model (if applicable), and the desired interior display effect for your sample. Please read "How to Prepare for an Accurate Quote for Custom EVA Storage Boxes" and then request a project evaluation .